
.png)


DIY Guide to Glass Etching
- xernition
- Aug 21, 2023
- 9 min read
Updated: Apr 15, 2025

Table of Contents:
Introduction
Welcome to the world of glass etching! We are very excited to invite you to learn this craft with us. Glass etching is a fantastic technique that allows you to transform ordinary glass items into custom works of art. Here, we will explore the materials you need, the step-by-step process, and some advanced techniques to take your glass etching skills to the next level.
Before we delve into the world of glass etching, we want to be transparent. All photos are of the CC0 license unless otherwise noted. Also, this blog post may contain affiliate links. This means that if you click on a link and make a purchase, we may earn a commission at no extra cost to you. We only recommend products and resources that we genuinely believe can enhance your crafting experience. Your support allows us to continue working on exciting new projects, and innovative ideas. Thank you for supporting, and being a part of community!

Materials
Before you dive into any project, it is important to gather all the materials you will need to complete it. On top of that, glass etching is a chemical-based craft, so it is essential to protect yourself and the space you work in. Below you will find an overall summary of the materials you need to gather, as well as more in-depth sections to discuss the specifics of each.
Safety Gear
As I mentioned above, glass etching is a chemical-based craft, and safety should be your priority.
You should equip yourself with protective gear such as gloves, goggles, and an apron, to protect your skin, eyes, and clothing from potential hazards. Make sure to follow all instructions on the back of the etching cream you plan to use.
In addition to safety equipment, you should always craft in a well-ventilated area. Adequate ventilation can dissipate any fumes created by the etching cream, and ensure a safe and comfortable environment for your creative process. It might also be a good idea to lay down some newspaper on the surface you plan to work around.

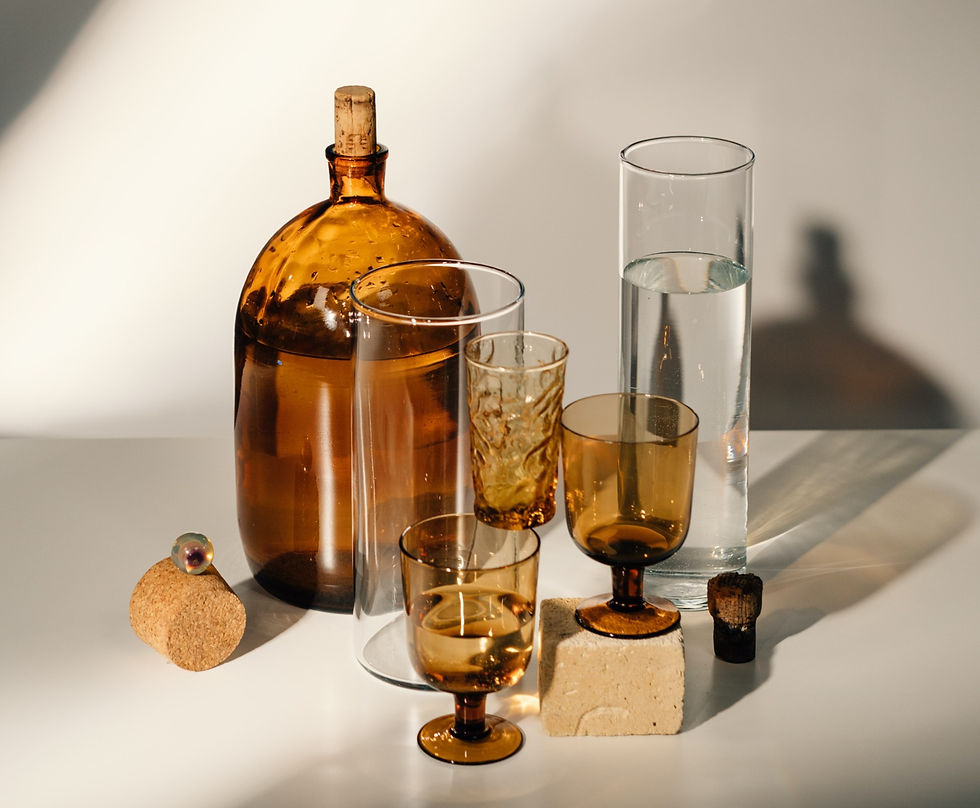
Glass Items
Choosing your glass is a very fun part of the process. You can etch cups, mirrors, bottles, or something entirely new (so long as it is glass). Whatever you end up picking, make sure it is free from any residues, films, cleaners, and fingerprints, prior to using the cream.
Where to Find Glass:
If you are looking for specifics, you have plenty of options on amazon. But, you can also take a trip to your local thrift store to find more unique items.
What to Start With:
For beginners, I recommend you start with a smooth flat surface. Focus on perfecting the stencil and the cream for your first etch. Once you feel you have the hang of that, you can move on to curved and angular pieces.
Great pieces to start with, are small flat mirrors:

Etching Cream
The cream is an essential part of glass etching. Thankfully, it is also the easiest decision to make regarding glass etching. There are very few etching cream companies to choose from, but the clear choice is Armour Etch. They have absolutely dominated the market, and are by far the most widespread and accessible brand. Any craft store that has a glass-craft section, will likely supply the Armour Etch brand. Or, if you'd prefer to have it delivered, Amazon has also got you covered.
Stencil
Creating your design on glass, requires precision. The best way to ensure the cream goes exactly where you want it, is with a stencil or mask.
Pre-Made Stencils:
The easiest option to start, is by purchasing pre-made stencils. Whatever your aesthetic is, there are plenty of beautiful designs to choose from. They are perfect if you are looking to customize your personal space or give out personalized gifts. If you plan to sell your crafts however, you should design your own stencils to avoid potential copyright issues.
Pre-made stencils, are also typically made of a semi-rigid material. That does make them re-usable, but it also makes them harder to use on a-typical glassware.
Creating Your Own:
If you would like to customize your own stencil, there are several options. You could use a precision knife on blank stencil sheets to cut your own stencil. Another option is to use a cutting plotter with removable adhesive vinyl. This isn't a reusable option, but it is far more flexible than a semi-rigid premade stencil. If that is the route you plan to take, I would also recommend using Vinyl Transfer Tape. I will go over the specifics of how I use this method in the process section.

Painter's Tape
If you are using adhesive vinyl, then you can skip this material. Any kind of rigid or semi-rigid stencil, should be held in place on the glass with painters tape. It will prevent your stencil from shifting/falling/getting bumped, and it can be removed very easily with no residue.
Brushes
I have found that a soft-bristled paintbrush is the easiest applicator to use. They are very inexpensive, easy to find at a craft store, and they allow you to apply the cream precisely where you intend to.
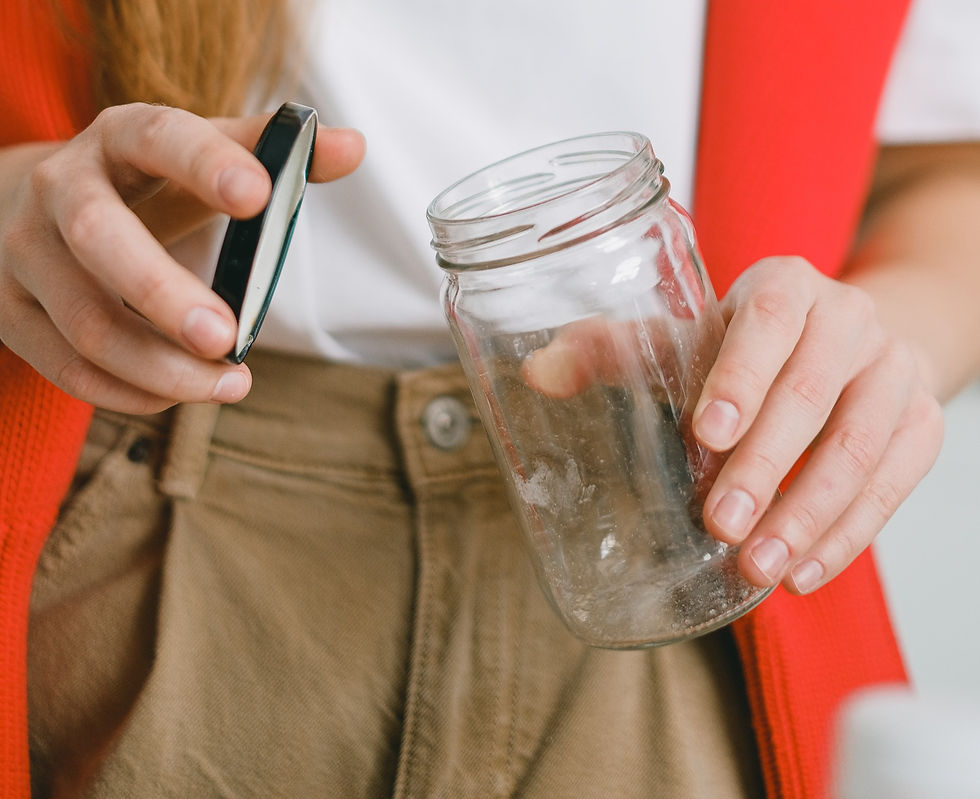
Soap and Water
Use mild soap and water to thoroughly wash, and rinse your glass before and after the etching process. Once you have cleaned the glass, please make sure your glass is dried in a way that doesn't leave any kind of towel lint.
Paper Towels
Paper towels are a handy tool to have ready during this process. They can be used to dry the glass, as well as to wipe off any excess cream that may have strayed from where you intended it to go.
The Glass Etching Process
Step 1: Preparing Your Workspace
Gather Your Materials
Start by collecting all the materials you will need for this process, and place them near your workstation in an accessible location. Having everything within arms reach can prevent interruptions and accidents.
Lay Down Newspaper
To protect your workspace from spills, and splatters, lay down the newspaper on the surface you plan etch on. Now is a good time to equip your safety gear as well. Safety is key, and its a good idea to keep yourself and your space free of unintended etching effects.
Clean Your Glassware
Clean and dry your glassware with mild soap and water to ensure there are no fingerprints, oils, residues, or dust that may interfere with your stencil or cream. A clean surface can mean better results.
Step 2: Stencil Creation and Application
Crafting your Stencil
You have options when it comes to the stencils. The easiest option is to purchase a premade stencil. One and done. You can now move in to the "Applying the Stencil" section.
The next in difficulty is hand cutting your own. You can purchase blank stencil sheets and a precision knife on to cut your own design on a semi-rigid stencil.
Another option is to use a cutting plotter with removable adhesive vinyl. This isn't a reusable option, but it is far more flexible than the other two options. This is the route I am currently using, and my personal setup is as follows:
There are many brands of cutting plotters, the Cricut is just the brand I am familiar with. You are also able to hand cut the vinyl with a precision knife, but the vinyl is pretty thin, and can be difficult to get clean cuts by hand.
Please make sure it says "Removable". If you get a "permanent" adhesive vinyl, you run the risk of it not coming off cleanly, or leaving a residue on your glass. Dont make things more difficult for yourself.
To use a cutting plotter, you typically have to place the vinyl on a cutting mat. For the Cricut, vinyl can be placed on the standard grip mat (the green one pictured below). Use the software that comes with your cutting plotter to input your design, and cut!
Once the machine has cut the pattern you desire, "weed", or "pick out" the cut vinyl pieces that are to be removed in your stencil.

Applying the stencil
Premade stencils, and hand-cut semi-rigid stencils, can be affixed with painters tape on the edges.
For adhesive vinyl stencils, it will depend on the complexity of your design. If you have a particularly intricate design, you may require Vinyl Transfer Tape . Smooth designs, like the heart pictured above, can be cut out from the larger sheet, and then placed on your glass surface like a sticker. If you have lots of complex shapes or lines, you could accidentally stretch or distort the vinyl in the process of taking it off the mat and placing it on the glass. If you are worried about that, transfer tape is the answer. Once you have cut and weeded the vinyl, transfer tape can be stuck to the top of the stencil (while it is still on the cutting mat). Then, carefully peel back the tape so the vinyl is removed from the mat, but still stuck to the tape. This ensures the vinyl remains in the same shape it was cut in. Next you line the vinyl/tape up on the glass you plan to etch. Stick it to the glass, smooth it out, and then carefully peel back the tape, to leave the vinyl on the glass.
Double-check alignment
For either method, ensure your stencil is positioned exactly where you want the etched design to appear. It should be centered, level, and flush with the glass. Any bubbles or gaps between the stencil and the glass could allow the cream to bleed into that space, causing unclean lines or accidentally etching a part of the design you didn't intend to. Take your time to make any necessary adjustments now, before moving on to the next step.
If you have additional questions on how to use a Cricut, transfer tape, or any other part of this tutorial, leave a comment below and I will try my best to answer any questions. If there is enough interest, I may write a post to go over the specifics of how to use a Cricut machine.
Step 3: Applying Etching Cream
Make sure to shake or stir your etching cream prior to use. Once it is a consistent texture throughout, you are ready to apply it. Take a soft bristled paintbrush to apply on the cream, just as if you were painting. Make sure to thoroughly apply the cream to all surfaces you with to be etched, and be careful to ensure it gets in all nooks and corners of your stencil. If any of the cream is accidentally placed on a surface you do not intend to etch, you can quickly wipe it away with a paper towel.
Set a timer, and leave the etching cream on for as long as the bottle recommends.
Step 4: Cleaning
Once your time is up, you can wipe away the bulk of the cream with a paper towel. Once wiped away, then take the glass to the bathroom sink to rise. DO NOT use a cleaner on the glass at this point. There can still be chemical residue from the Armour Etch, and it is never a good idea to mix chemicals. Use plain water to rinse it, and if you need a bit more help than the water, I find it helpful to use the same brush from earlier, to get in the corners and rinse out any remaining cream. Once clean, you can dry the piece off, and then carefully remove the vinyl. Congratulations, you have successfully etched your first piece of glass!

Project Ideas
Glass etching has such a wide range of possibilities! From custom glassware for parties, to mirrors that will add a spark to your home décor, there are endless options. I have brainstormed a few ideas to get your imagination going, but feel free to discuss in the comments any ideas or projects you would like to try!
Custom glasses to celebrate an anniversary or other special date
Decorative mirrors to spice up your walls
Upcycle old wine bottles
Hop on the trend of those cute glasses that are shaped like a can of soda
Make your candles more sophisticated
Organize your spice rack with the names on each bottle

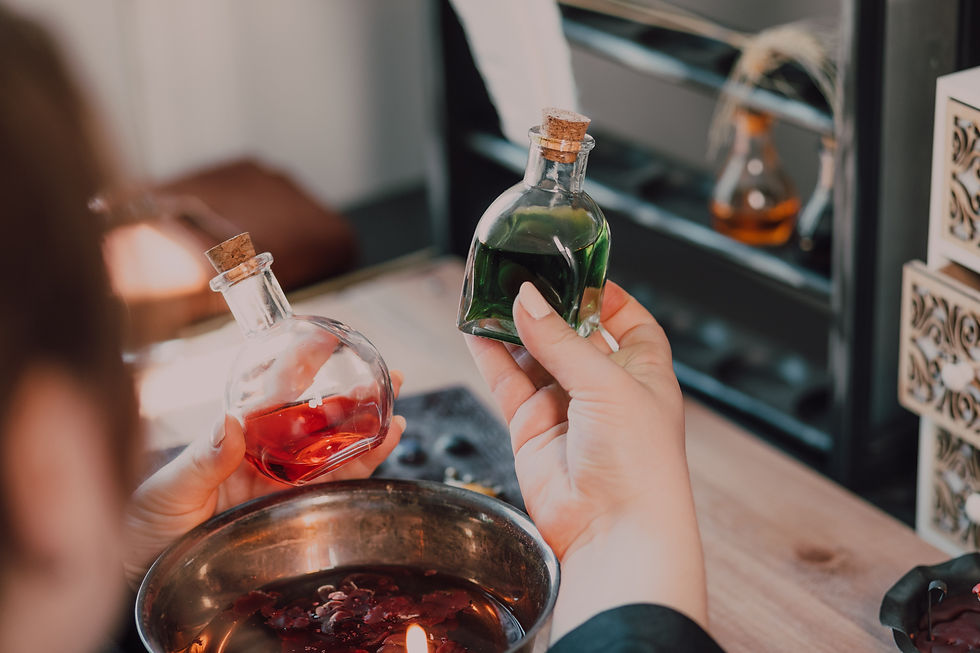
Get nerdy, and make potion bottles for D&D or the Renaissance Fair
And as always, go thrifting! There is no telling what you will find, that will cause inspiration to strike!
Showcasing Your Creations
I am so happy I get to share this very fun craft with you. I hope you enjoy crafting, and don't hesitate to experiment with different techniques and designs. Get creative!
Sharing your work is a great way to inspire others and connect you to the greater community of artists. If you used my guide, I would love to see photos of your creations. Tag me @Xernition on your social media platform of choice!
Comments